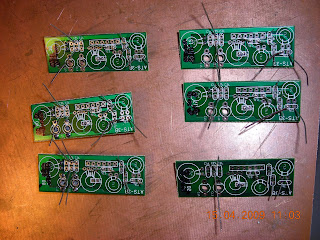
Opened the kit and printed off the assembly/operation manual.
And I finally started my ATS-3B build.
Resistors and inductors first...

As there will be plenty of reversing of the board during the construction stages I used a long 3mm bolt and nuts to support the board off the surface during construction. Rather than use a rotating vice.

This is almost straight down and it is almost impossible to see but the resistors and inductors have been soldered in place! 0805 and the tiny 0603 components. Started without aid of magnification. Hot iron and steady hand needed. If you click on the image and get the full size one you can see not the absolute neatest ever and I will clean off some of the excess solder!
I did not use the solder KD1JV (Steve) included as I already use 30swg solder and a temp controlled iron wih a 0.5mm tip (was 0.7mm but filed down a bit!).
Capacitor and surface mount IC's (you may notice I re arranged R5 too!)
(Note need to clean up the pads, you can clearly see too much solder on some and a little peak/point as the soldering iron was withdrawn)

Slanted view:

Reverse side

So far only taken a couple of hours soldering time. The 0603 resistors were not that bad, the difficult chip IS the DDS AD9834 as there is very little room. I used solder wick to separate three of the pins. The digital images on macro were excellent for seeing dry joints.
I think the difficult bit is now done :-)
The finished main board
Top

Bottom (L3 to fit after alignment)

The capacitors fitted to LPF (The green caps to be fitted after adjustment.
 )
)The populated PCB


No comments:
Post a Comment